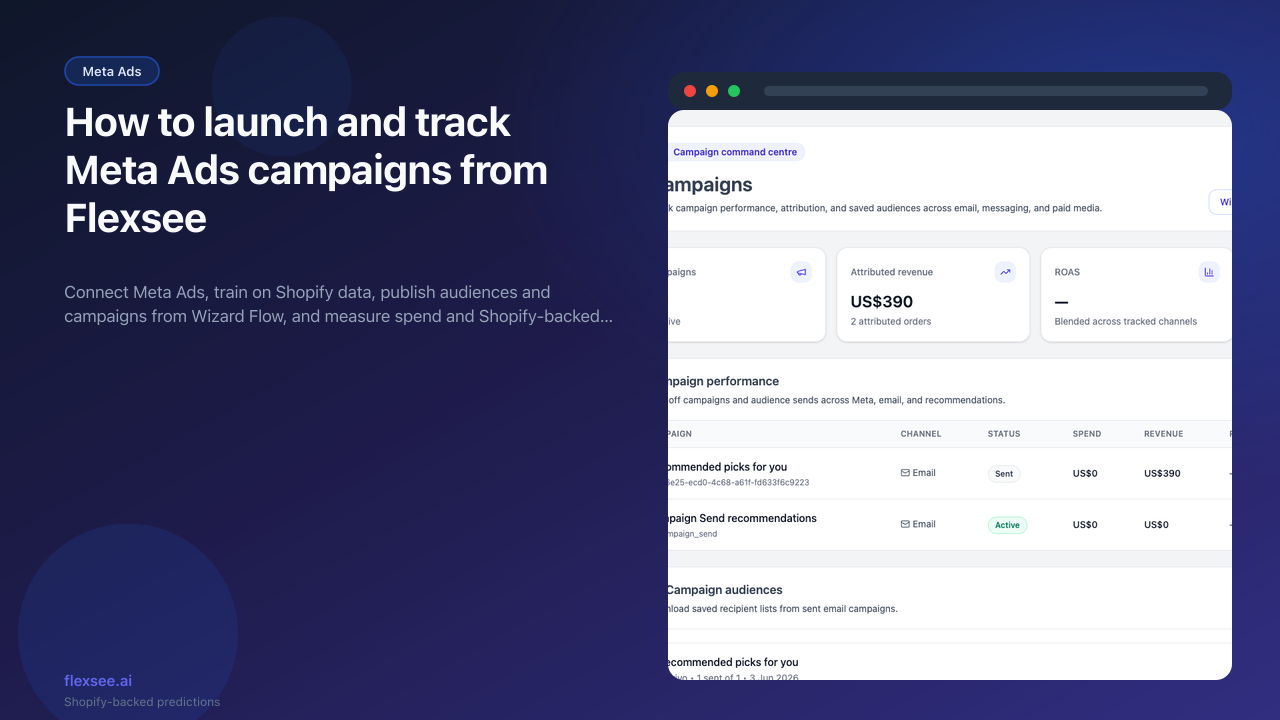
How to launch and track Meta Ads campaigns from Flexsee
Connect Meta Ads, train on Shopify data, publish audiences and campaigns from Wizard Flow, and measure spend and Shopify-backed ROAS in Flexsee Campaigns.
Running Meta Ads for a Shopify brand usually means jumping between Audiences, Ads Manager, and spreadsheets. Flexsee keeps the intelligence layer on your store: connect Meta, train on Shopify orders, prepare and publish audiences and campaigns from Wizard Flow, then read Campaigns with revenue tied to real orders—not only Meta’s in-platform attribution.
When you finish, you will have Meta linked, at least one published Wizard Flow campaign, and a reporting view you can trust before increasing budget.
What you’ll accomplish
- Meta Ads connected under Integrations → Marketing Destinations
- A trained model and Wizard Flow path through audience selection, Meta setup, Prepare audience, and Publish campaign
- Campaign tracking in Flexsee with spend synced from Meta and revenue from Shopify
You still edit creative and placements in Meta Ads Manager when needed. Flexsee handles predictive audiences, publishing, and Shopify-aligned measurement.
Prerequisites
Before you begin, make sure you have:
- A Shopify store connected in Flexsee (Integrations → Datasources)
- Access to Meta Business Manager and an ad account you can authorize
- Permission to create custom and lookalike audiences in that ad account
- A Flexsee account
For prospecting with lookalikes, read How to build Meta lookalike audiences from Shopify predictions first—the audience mechanics are the same; this post focuses on launch and reporting.
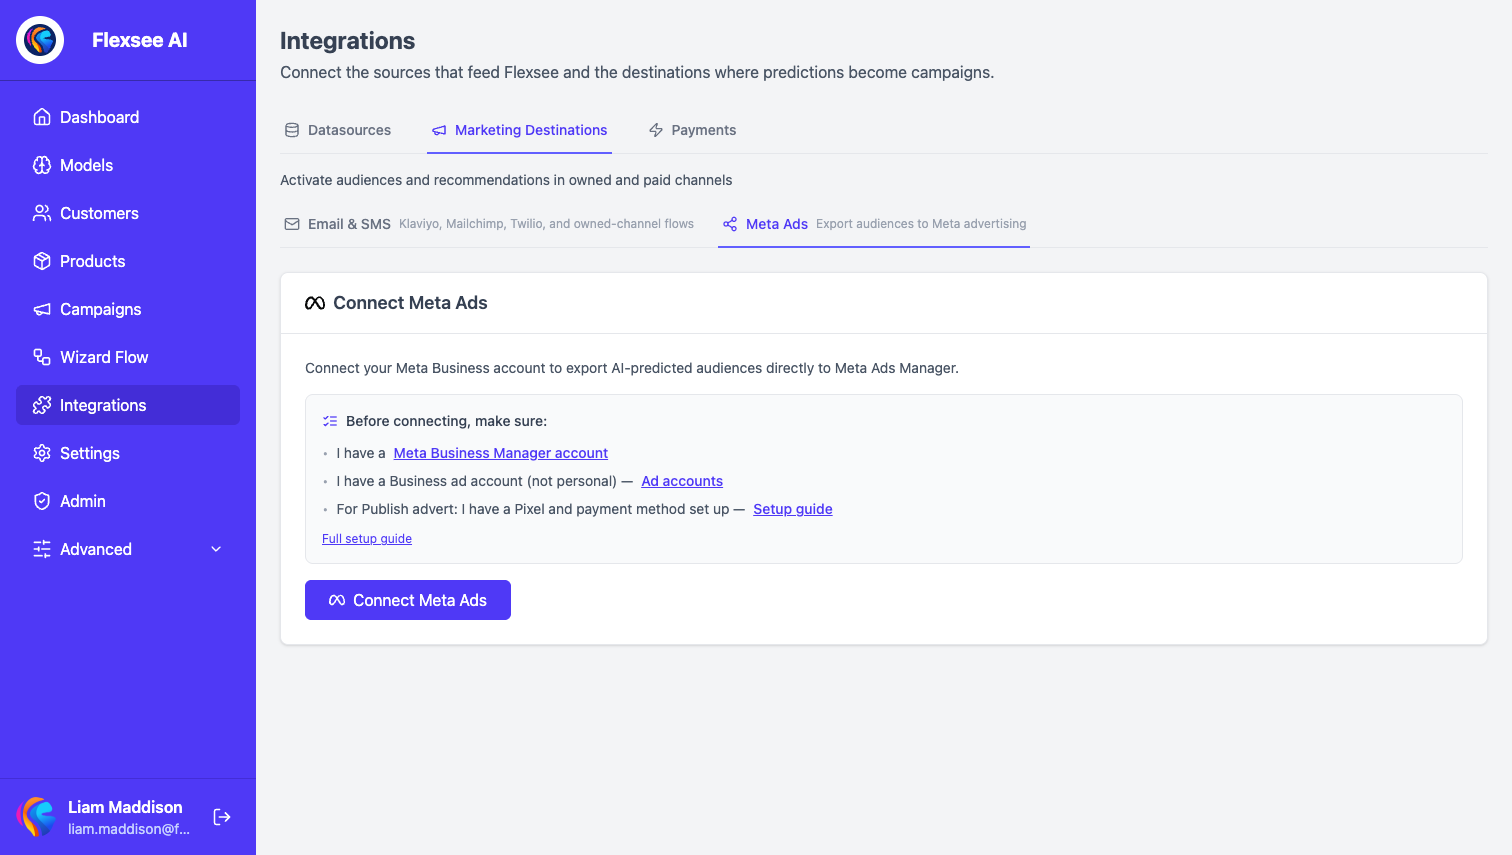
Step 1 — Connect Meta Ads in Flexsee
In this step, you will authorize Meta and confirm the connection is active.
- Open Integrations → Marketing Destinations → Meta Ads in the Flexsee dashboard.
- Complete OAuth and select the correct ad account (and pixel if prompted).
- Wait until the connection shows active—publishing from Wizard Flow fails fast if Meta is disconnected.
Flexsee uses this connection to create audiences, publish campaigns, and pull spend for Campaigns.
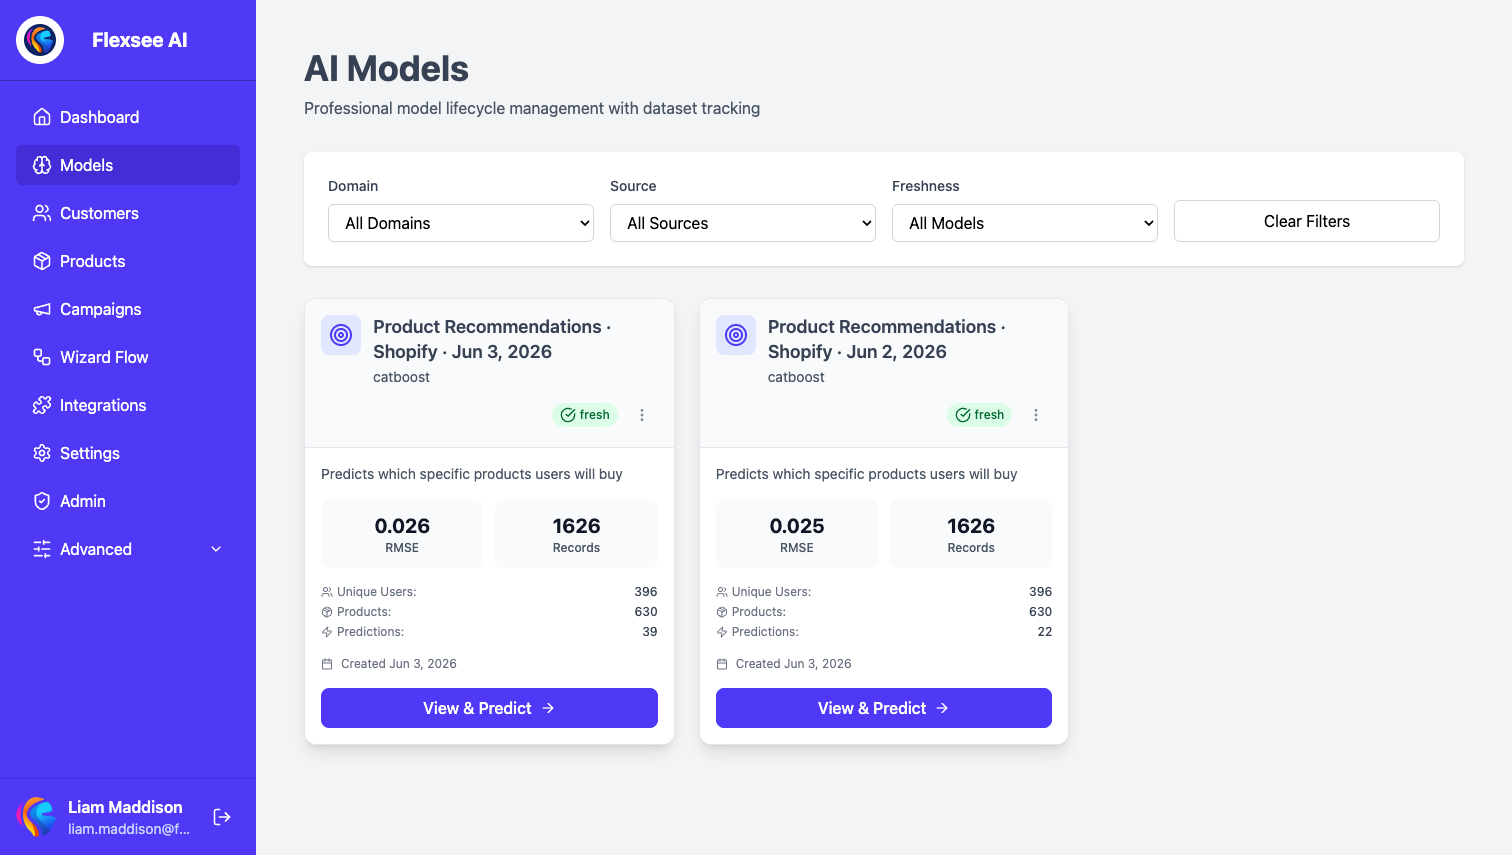
Step 2 — Prepare Shopify data and models
In this step, you will verify sync health and train a model aligned with your campaign goal.
- Under Integrations → Datasources, confirm products, orders, and customers are syncing.
- Open Models and create or select a model for your goal—high-intent buyers for retargeting, or a strong seed segment for prospecting lookalikes (minimum 100 emails for lookalike seeds).
- Wait until training shows Complete before you export or publish.
Weak or unfinished models produce thin audiences and noisy downstream ROAS.
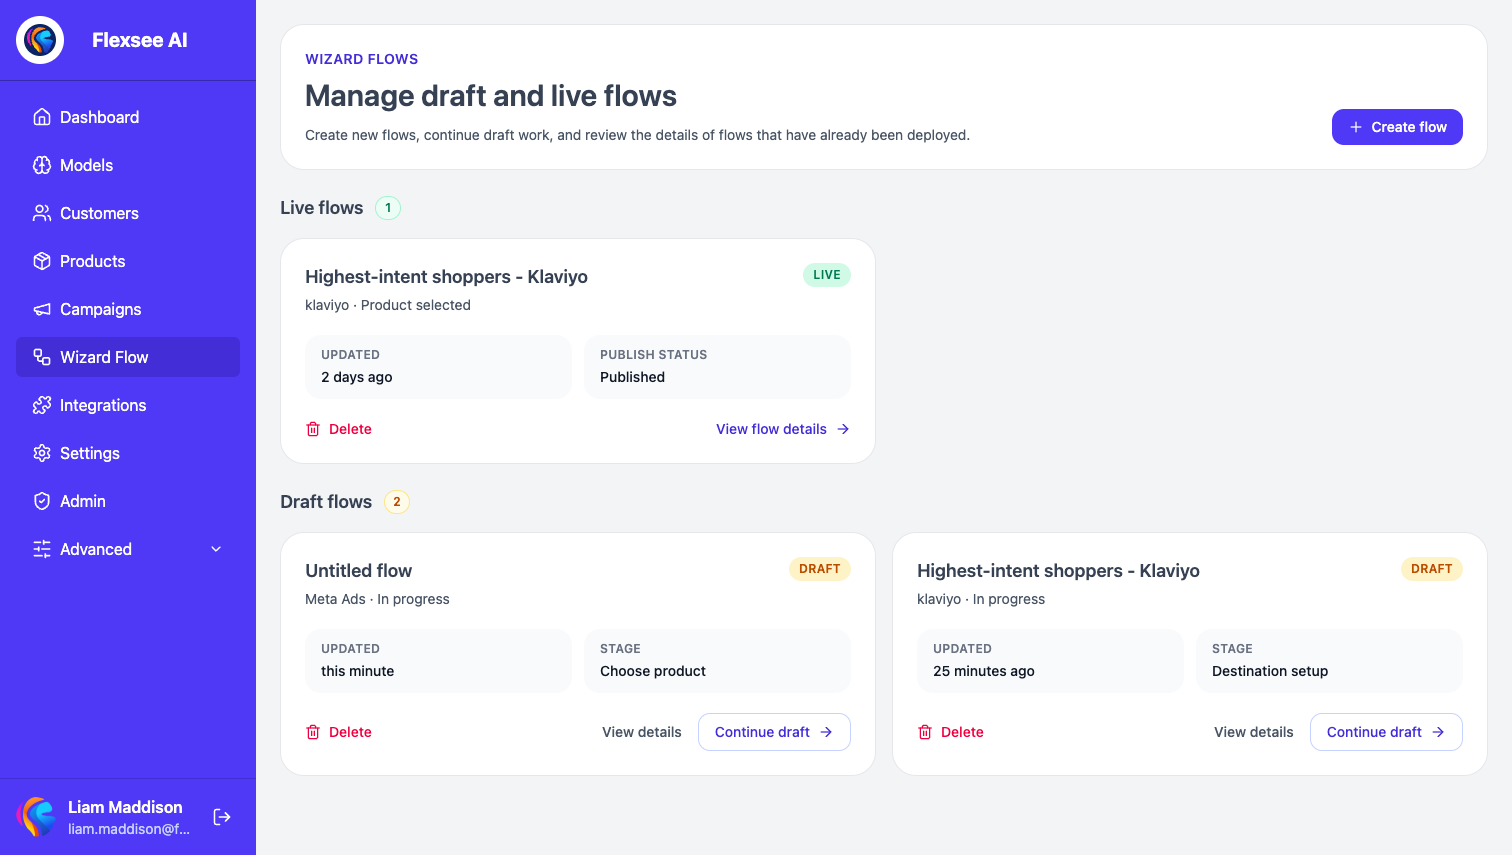
Step 3 — Publish audiences and campaigns from Wizard Flow
In this step, you will use Wizard Flow end to end—not CSV exports or manual lookalike creation in Ads Manager as the primary path.
- Open Wizard Flow, start or open a flow, and select a product to anchor predictions.
- Choose Meta Ads as the destination.
- On Choose audience, pick a predictive segment (highest-intent for retargeting, or a lookalike seed list for prospecting).
- On Setup details, choose Retargeting or Prospecting, set budget, objective, and—for prospecting—lookalike country and size. Flexsee creates the lookalike in Meta when you prepare a prospecting audience; you do not duplicate that step in Ads Manager.
- Select Prepare audience, then Publish campaign when Meta returns a ready audience.
Retargeting uses a custom audience built from your Flexsee segment. Prospecting uses a lookalike off that seed. Both are created through Flexsee’s Meta publish pipeline.

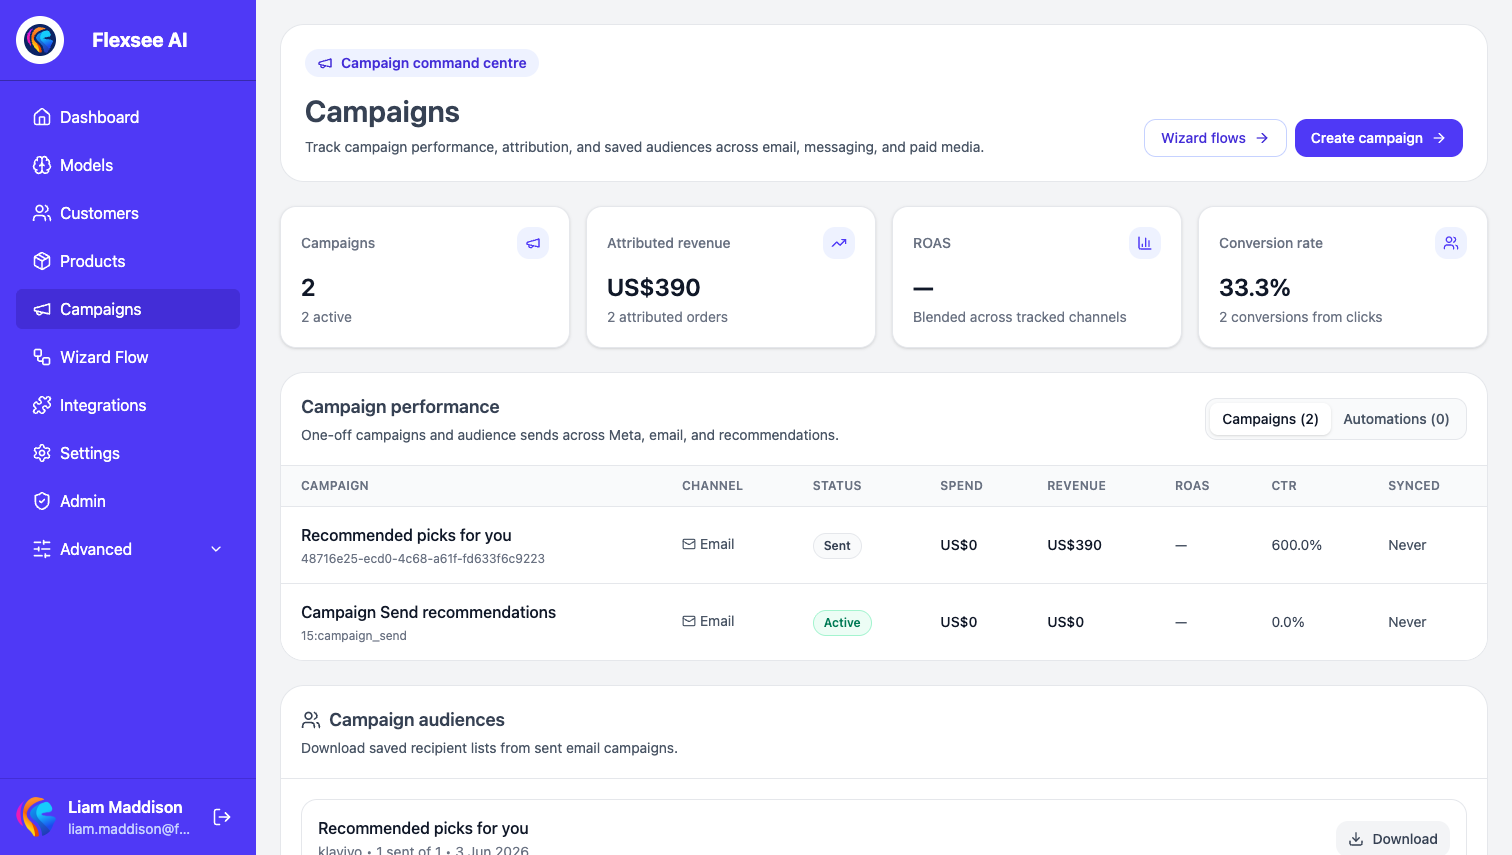
Step 4 — Track campaigns in Flexsee
In this step, you will review performance once Meta reports spend.
- Go to Campaigns from the main navigation.
- Match the date range to the period you evaluate in Meta Ads Manager.
- Compare spend, attributed revenue, and ROAS—Flexsee attributes revenue from Shopify orders linked to your tracking, not Meta’s modeled conversions alone.
- If Meta and Flexsee diverge, use How to reconcile Meta Ads ROAS with Shopify revenue before scaling budget.
Use Flexsee to decide which campaigns earn more spend; use Meta for creative tests, placements, and delivery diagnostics.
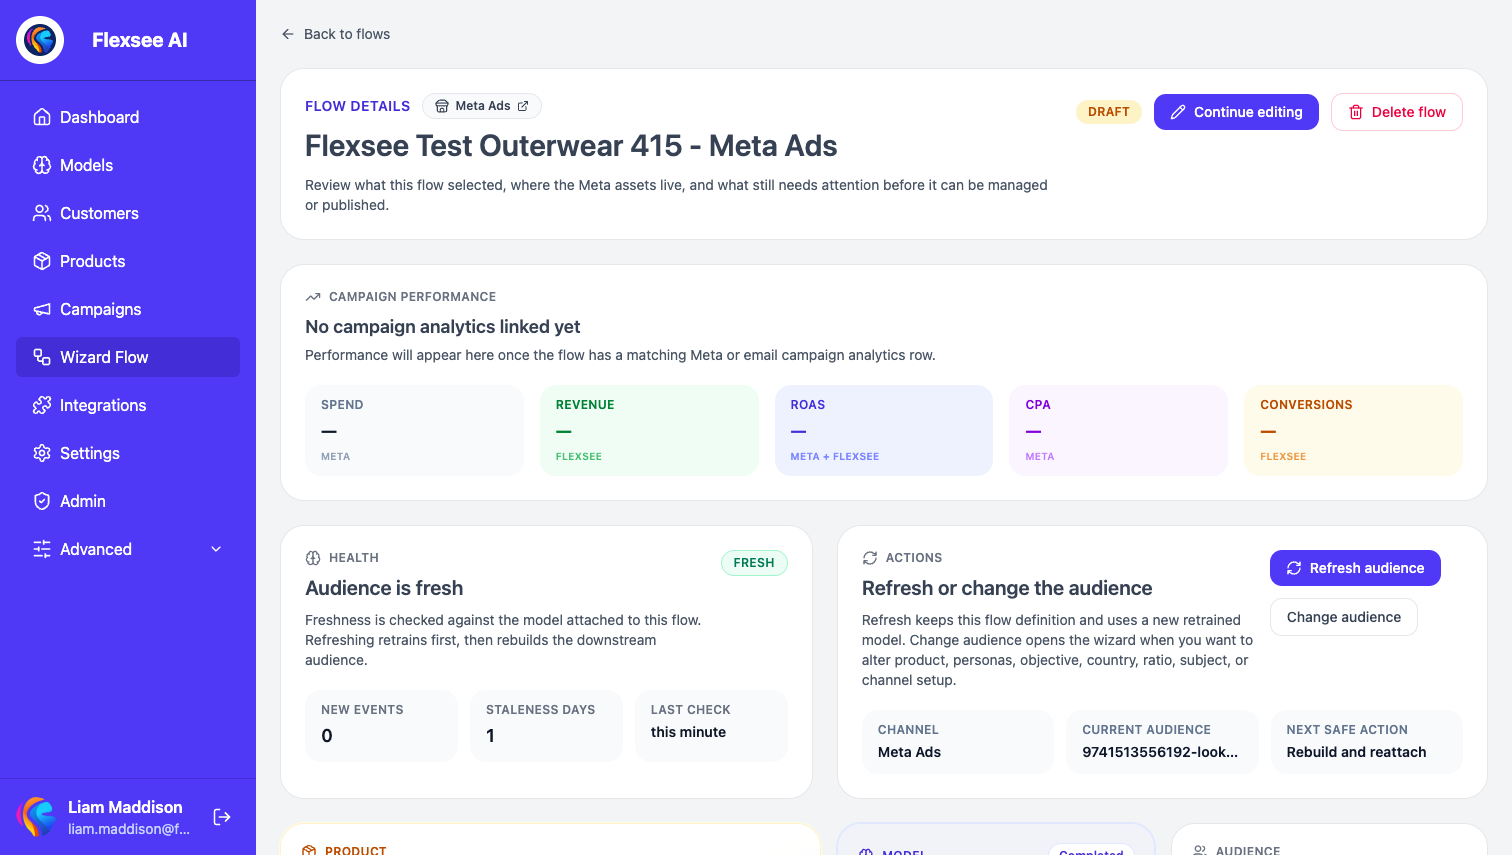
Step 5 — Review flow health and next actions
In this step, you will use the Wizard Flow details page for operational context.
- Open your Meta Wizard Flow from Wizard Flow (details view, not only the editor).
- Check audience preparation status, publish state, and any errors before retrying Publish campaign.
- When performance is stable for 7+ days, duplicate the flow for a new product or segment rather than rebuilding audiences manually in Meta.
Optimization checklist
- Prospecting — seed lookalikes from high-intent Flexsee segments, not all site visitors.
- Retargeting — cap frequency in Meta; refresh the Flexsee segment when engagement drops.
- Creative — test hooks in Meta; pick winners using Flexsee Shopify ROAS.
- Budget — scale when attributed ROAS beats margin for a full week.
Frequently asked questions
Do I create ads entirely inside Flexsee?
Wizard Flow publishes the campaign structure and audience wiring Flexsee supports today. Creative and detailed ad edits may still happen in Meta Ads Manager. Flexsee’s value is predictive audiences plus Shopify-backed reporting.
Can I run campaigns without predictive audiences?
Yes. Connecting Meta and Shopify still unlocks Campaigns reporting. Predictive audiences usually improve prospecting efficiency.
Is CSV export the main workflow?
No. The supported merchant path is Prepare audience and Publish campaign in Wizard Flow. CSV export is not the primary lookalike or retargeting workflow described in current product code.
How does this relate to Klaviyo?
Meta is paid social; Klaviyo is owned email. Many brands run both—see AI recommendations in Klaviyo.
See also
- Product update: Publish Meta Ads campaigns from Wizard Flow — launch campaigns with prepared audiences, creative, and budget from the same guided path as email.
- Product update: Shopify-backed ROAS in Flexsee Campaigns — reconcile Meta reporting with Shopify order revenue after publish.
Conclusion
You connected Meta to Flexsee, trained on Shopify data, published a campaign from Wizard Flow, and can monitor results in Campaigns with store-backed metrics. That loop—connect, train, publish, measure—is the core Flexsee paid social workflow.
Comments